Using Period Maps in Wargames

I am designing the Pub Battles Borodino game.  Having researched and prepared the preliminary order of battle, and then prepared all of the blocks I needed to begin working on the deployment of the Russian army, I made an interesting discovery. 

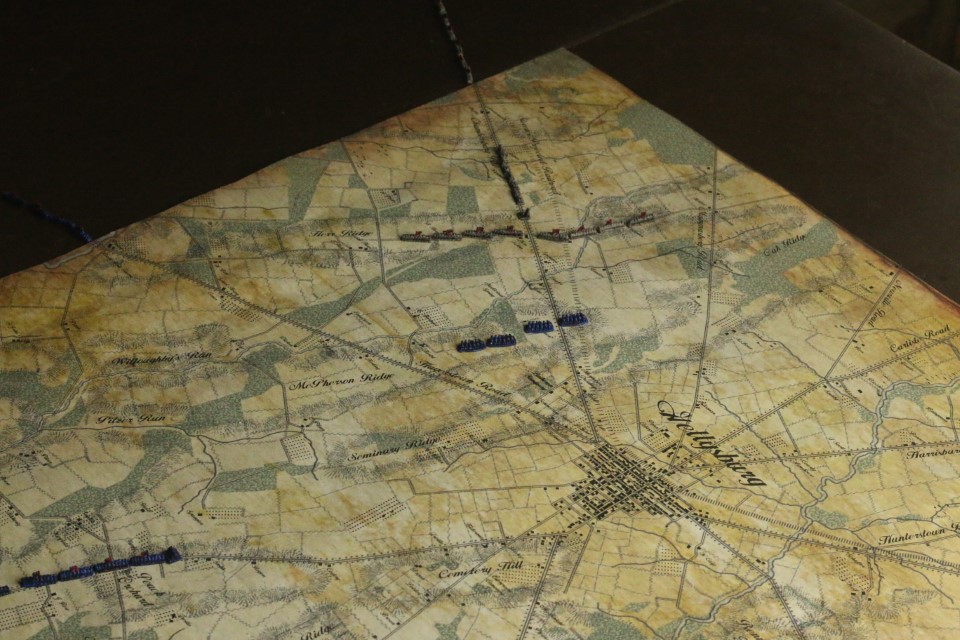
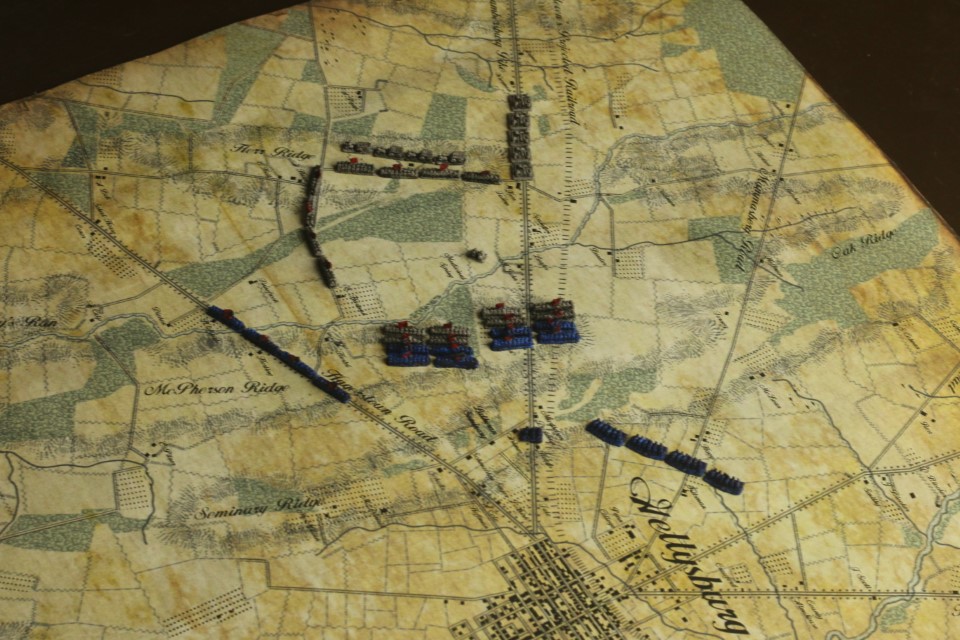
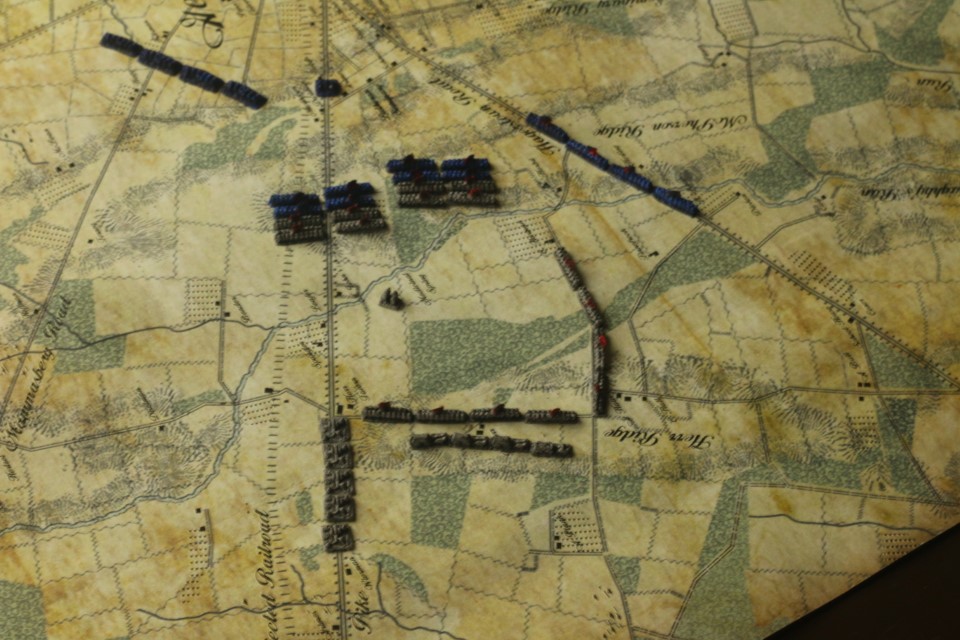
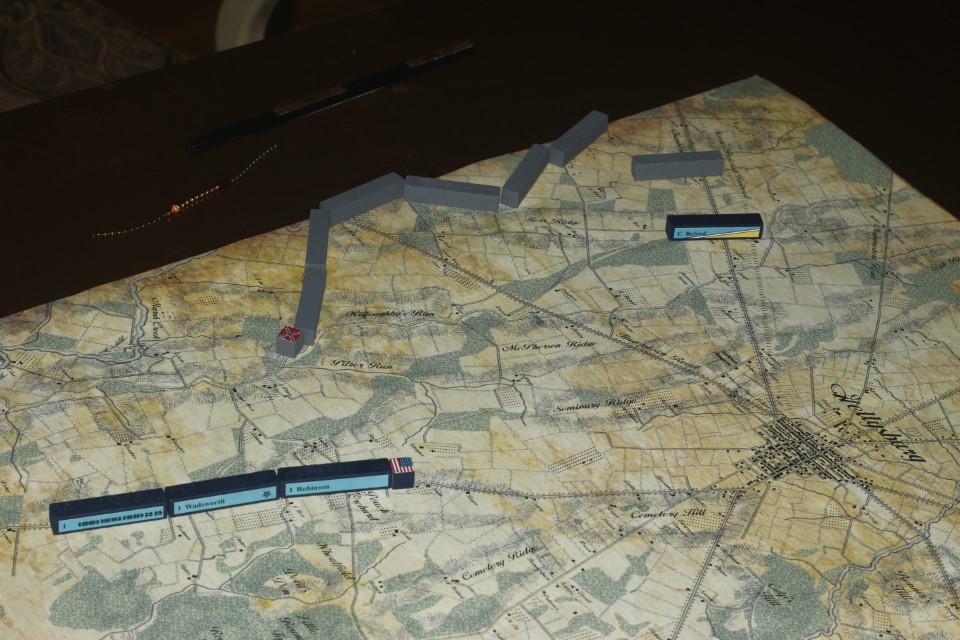
As you may be aware, Pub Battles uses actual period maps of the battlefieldsas the game map.  In the case of Borodino, we are using a French map which,I believe,is from the Atlas prepared to accompany  the History du Consulat et de L’Empirepar,Volume 14 of which covers the battle of Borodino (published in Paris in 1856) by M. Adolphe Thiers.

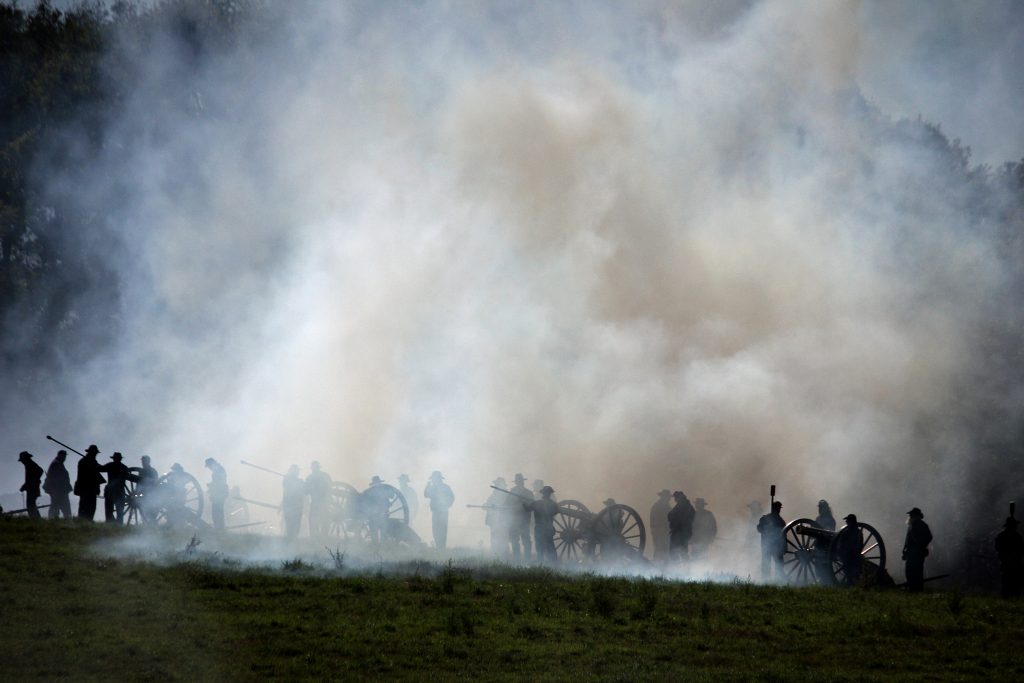
As I was examiningthe source material and deploying the units on the period map, I was somewhat amazed (though in retrospect, I shouldn’t have been) by what the “game” was telling me.  The period map shows that the area is fairly heavily wooded and is quite hilly and covered with dry streambeds (and consequently, stream banks).  In some of the  ‘hex and counter’ wargames covering the Battle of Borodino, the maps are fairly devoid of terrain, with many clear terrain hexes, and much of the wooded areas depicted on Adolphe Thiers’ period map missing.

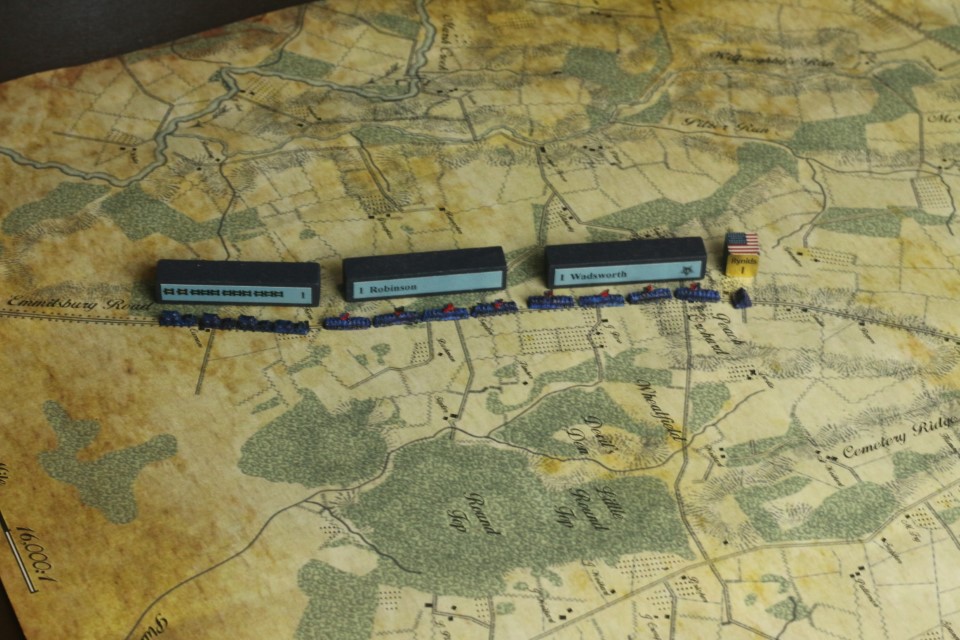
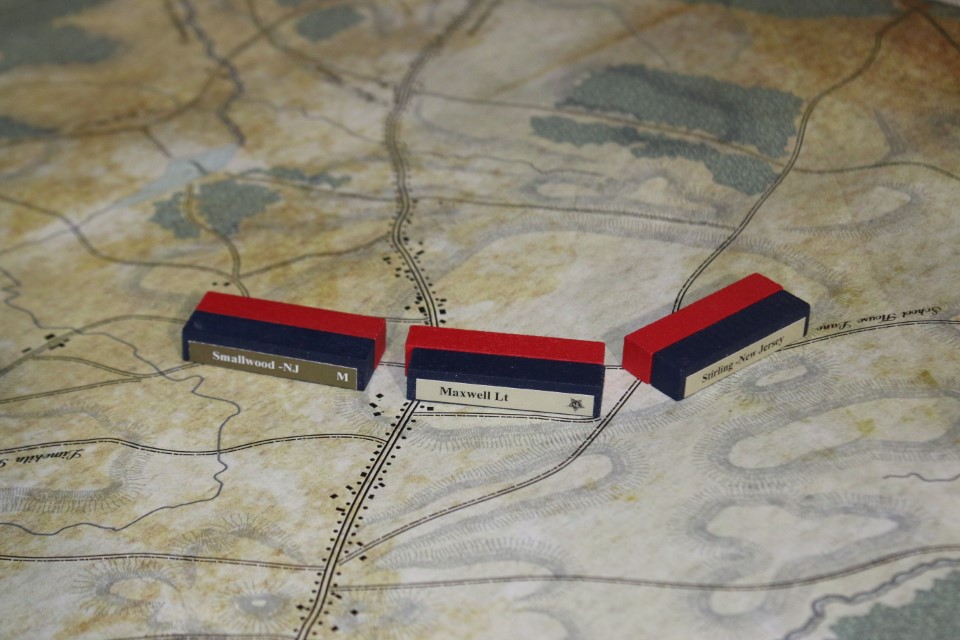
While I was placing units on the map, it became apparent that in 1812, Kutuzov was using the terrain to his best advantage.  Of course, his main line of defense is behind the Kalocza (also referred to as the Kalochka and other variants of the Russian spelling), which is a tributary of the Moskva River.  However, there is an area in the center of the Russian line, where Kutuzov deployed a couple of Army Corps in a line perpendicular to the main line.  Why there?  Well, the period map answers the question; behind the small stream running south is an embankment, and the troops placed there are on the high ground just behind and overlooking the stream.  When you look at the blank period map, you can’t help but notice the plateau (the village of Semenoffskoie is in the center of that “line” running north/south).  So, Kutuzov deployed Russian units there in a sort of natural reverse “fishhook” for those familiar with the battle of Gettysburg.  This position would allow the Russian troops deployed there to fire on the approaching French while they crossed the stream and climbed the embankments.  Later, when Kutuzov realized that Napoleon was approaching his left flank and was not planning on an assault over the Kalocza, Kutuzov then extended his line to the left and had the Shevardino redoubt built and added to the Russian position on the extreme left;  however, he left the two corps guarding the stream on the high ground in place

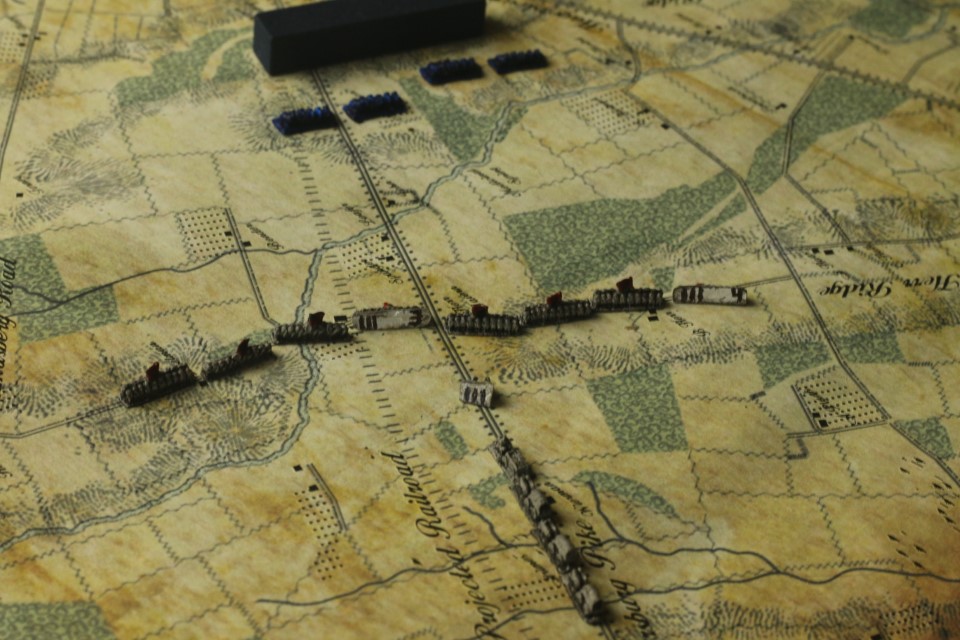
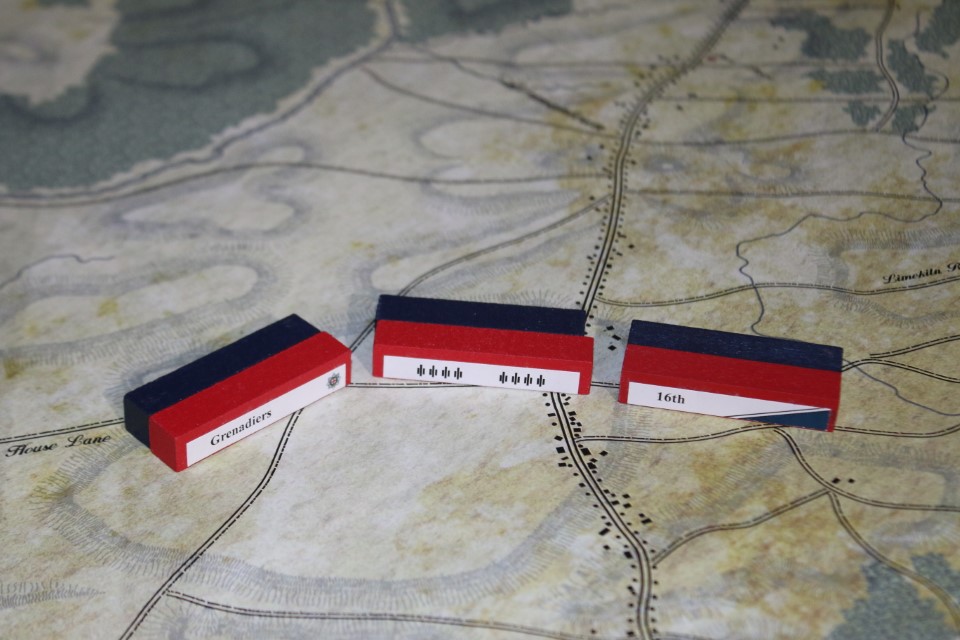
Then, as I was working out the deployment of the Guard corps, I saw “The Old Fox” Kutuzov, using his cunning to deploy the guard in a wooded ravine, where they would be virtually undetectable by the French until they were moved out of reserve.

Kutuzov also deployed Karpov’s Cossacks where they would be hidden in the wooded terrain near Outitsa (also known as Utitsa).  From what I have been able to learn, Tuchkov’s III corps was also deployed hidden ina wooded area not too far from Utitsa and the ‘Old Moscow Road.’(Determining the deployment of the III Corps on September 5th is a tricky undertaking).  Kutuzov wrote to the Tsar about the trap he had laid with III Corps, which was hidden on the left flank, and which was to be sprung when and if Napoleon tried to outflank him on the left.  Unfortunately for Kutuzov, another Russian commander, unaware of the ruse, repositioned III Corps closer to Outitsa and on open ground, without Kutuzov’s knowledge.

All of these things become readily apparent if you take the time to study the period map and look at how the Russian Army deployed for battle.  Having been a wargamer for over 50 years now, I can tell you that often such things are not so apparent when looking at many other wargames.   It seems that often, when maps are abstracted and “translated” onto a hex grid, much is lost in the translation from the source map to the game map.  Because Pub Battles gives you the period map as the game map, no such abstraction takes place; you have the original source right there in front of you.

By: Charles F. Bryant, II

A New History of Waterloo

I’m about half way through Alessandro Barbero’s book “The Battle: A New History of Waterloo.” It is a very readable book that is hard to put down. I can’t wait to play Waterloo again, the Pub Battles coverage is very accurate, and it will be fun playing it again with Napoleon’s plan. His plan was, as always, let’s attack and be prepared to strike wherever opportunity presents itself. He had no idea of Wellington’s defenses because they were all on reverse slopes. He did have the Grand Battery deploy in the center and shelled there, expecting a breakthrough, which d’Erlon’s Corps could exploit. Although Reille had the bigger Corps at the start of the campaign, after Ligny it was smaller than d’Erlon’s fresh I corps. If one was going to be a purist, a block would be switched from II Corps to I Corps, but that’s a small matter.

The cool thing about Pub Battles is that you can read the history of a battle and try out the General’s plans and such. With most detailed combat focused games you get too buried in the minutia to really try out the big picture plans. Plus, with most games it takes many hours of play to get through a battle. Typically, a quicker playing game sacrifices authenticity; Pub Battles focuses on real command concerns, and delivers the goods.

-Mike Strand

Pub Battles Orders Beta

We’ve been getting very good results with these rules!

We plan on including them in the new 4.0 Pub Battle rules we are working on. Here is a copy of them for you to download and test out; along with correctly scaled Order Sheets!

2mm Miniature Gettysburg

This is my first miniature army! I know!! Time for show and tell. I’m using these directly on the map, in place of the standard Pub Battles blocks.

Buford’s Cavalry screens along McPherson’s Ridge. Heth’s Division comes down the pike and deploys along Herr’s Ridge. That is Hill’s HQ and the baggage train behind them.
Here comes Reynolds marching up the Emmitsburg Road. That’s Wadsworth in front, followed by Robinson and the baggage train.
This is how they compare to the regular Pub Battles blocks. Each unit is made up of 4 little, metal stands.
These are the next reinforcements coming in.
Titus ponders the implications of Rowley’s division entering on Heth’s right… Nah, he’s probably thinking about swiping them off the table.
This is Reynold’s Corps in blocks.
Buford in block equivalent. I’m surprised that Titus hasn’t taken out Rowley yet.
How do you know who is who? Each unit is made up of 4 stands. I use the Right most stand for ID. I painted the bottoms of the stands in white. Then I wrote the ID with a fine tipped Sharpie. So the left unit here would be the 3rd Division from III Corps. (In this case, it’s Heth’s left because the Reb Divs. are so big.) Hill is marked there with a III.
So they all look the same when they are standing up. This is good for FoW but is a bit more fussy. How do you track Spent status? I suppose you could flip them over but that doesn’t look good. Mark them with some kind of token / chit? If you track them on a separate OB sheet, you could also count additional step losses. -Kind of like in Kriegsspiel. I’m not sure if all that is worth the trouble.
Heth attacks and drives back Buford. Reynolds marches up to the Seminary.
Wadsworth, supported by Robinson attacks Heth on McPherson’s Ridge. Rowley marches in on his left. That’s Pender and the artillery coming around behind Heth.
Here comes Howard up the Emmitsburg Road. The baggage train moves off the road onto Cemetery Hill for now.
This is a view of the same situation from Titus’ angle.
What’s cool about these minis, is that they are scaled to Kriegsspiel! Each of those little stands equates to a standard KS block.
This is what the Cav and baggage train would look like in KS blocks.
This came out a little blurry but you can see how they all compare: minis, Kriegsspiel blocks, Pub Battles blocks.

You can get these minis at Irregular Miniatures. They are a great company. They have lots of great minis. They also make standard KS blocks in metal! Check them out.

Graphical Order Writing –Pub Battles Variant

We’ve experimented with several different order writing systems for Pub Battles over the years.  We love the idea of orders creating C&C limitations / time lag delaying your moves but all our attempts failed when they hit the table. They never seem to create any problems. You can still do all the things you could normally.

Last weekend, we decided to try a new experiment:  Graphical Orders.  Yeah I know.  They didn’t do orders like that back then.  True but we figured it was worth a quick test. Maybe we’ll learn something we can use in a modern era game.

Wow, were we surprised!  Graphical Orders in Pub Battles are fantastic.  Looking back now, it makes more sense. Formal written orders were the norm back then but those were typically issued from the Army to the Corps each night, while maneuvering on campaign. Once the battle was on, there wasn’t much need for that. Everybody is already there! Besides, during a battle, there usually isn’t time for all that. Things are happening too quick.

If you were a Corps Commander in a battle, you wouldn’t write orders to your Divisions. You’d probably just ride up to them in the field and give them quick, verbal orders: “We are going to move forward and form a line facing west along that ridge. See that clump of trees there? Anchor your right on that. Second Division will be on your left. Got it? Good. Go!”

Well guess what? Modern graphical orders turn out to be a great model of exactly that! Think of them as the Corps Commanders showing / telling their Divisions where to deploy in the field.

Now it’s going to take time for them to execute that right? Well, that’s the time from the beginning of the turn to when they actually move. In Pub Battles, a lot can happen during that time! There’s your delay. You have to plan ahead.

How to Use Graphical Orders

We printed a simple conference map on a letter sized page.  You can down load a copy for free here.  You have our permission to print off extra copies for your own personal use in playing the game.

The Conference Map is exactly 1/3 the scale of the regular map.  So you can use the same Pub Battles sticks & Chains on it.  A full move on the Orders Sheet is 1/3 of a move on the sticks. 

You’re also going to need some clear transparencies from your local office supply store.  While you’re there, pick up some fine point dry erase pens. 

Example 1

This is turn 2 at Gettysburg, Day 1.  Reynolds wants to march up to the Seminary.  You draw the ‘order’ like this:

Because he is marching on the road, he can move twice as far.  So that is 2 sections on the chains. 

The Difference

Ok so the problem is, Hill moves first.  Instead of driving on Gettysburg, he makes an unexpected shift to the right and marches south.

 In a regular game, Reynolds could just scrap the plan to march north and instead move west to block Hill. Now he can’t!  His column has to march as ordered:  up to the Seminary:

Now what?!

Example 2

Ok, now let’s back this situation up. Let’s assume for some reason that Reynolds just stopped for Turn 2 and didn’t march.

What happens now for Turn 3? Reynolds wants to get off the road and form a line on Seminary Ridge, directly to the west. You would draw that order like this:

Notice that you are just ordering the Corps as a whole. You don’t go into detail for each block, their exact move, rotation, etc.

Ok now if Reynolds moves first, that is fine. He’ll get up there along that ridge (mostly) before Hill does. If Hill orders to occupy the same position, then Hill will automatically launch an attack to take Seminary Ridge. You have to throw the enemy out, before you can occupy and defend it right?

Same goes for Reynolds. If Hill gets there first, Reynolds must attack uphill to take it!

What can you do as a Corps commander? 

You do have discretion over which divisions to put where and when to rally them.  It is also up to you to decide how hard to fight during combat.  Maybe you were ordered to attack but how hard to you push?  Do you attack with only Fresh units? Do you add support?  Do you fall back after 1 round of fighting to minimize casualties? Or do you keep pushing with Spent units in additional rounds, with an all-out effort to take the ground no matter what? This is left up to the Corps commanders to decide as it unfolds;  NOT put in the orders. 

If you don’t hold the ground, you are expected to advance and attack to take it. If you do hold the ground, you must defend it. If you are repulsed back, you must counterattack to get it back.

You are not allowed to move to another location without orders.

Note that the orders define a line that you are to hold and also the direction that your Corps faces.

Example 3

Alright now instead, let’s say Reynolds decides to just play it safe. He doesn’t want to risk losing troops in an uphill assault against the enemy. Instead, he decides to form his defense along the ridge in the Peach Orchard. He draws his orders thus:

Nice, except that these are Hill’s orders:

So the turn ends up like this:

Hill’s Objective is Devil’s Den and Little Round Top. -but Reynolds doesn’t know that yet.

Let’s say Hill moved first here. In a regular game, Reynolds could just move south to cover Devil’s Den and the Tops. Now he can’t. Those aren’t his orders! He MUST move into Peach Orchard, facing west as shown.

Next turn he can issue new orders to shift his Corps south to cover that ground. Fine, but who will move first? If Hill moves first, Reynolds will be having a very bad day.

Example 4

Ewell just attacked on turn 7.  There is 1 more turn left of daylight.  

On the left, Rodes was flipped and repulsed.  There is 1 Federal defender left on Culp’s Hill but they are spent also.  One more push might blow them out.

On the right, Early attacked Wadsworth on Cemetery Hill.  Half of Early’s men ran.  The other half are hanging on to Cemetery Hill but just barely.  They are spent, so it won’t take much to throw them back.  Wadsworth was repulsed too.  Lots of hard fightin!  So who won?  It depends on what happens next turn.  Right now, Cemetery Hill is up for grabs!

So what do you do next turn?  Ordinarily, that’s easy.  You just sit back and hope you get pulled to move first.  If you do, you rush forward, firmly occupy Cemetery Hill and sweep Culp’s Hill clean before nightfall.  If you don’t get the first move, roll to jump ahead.  If that fails, ok.  Just back off and setup camp for the night.  You can deal with it tomorrow. 

The Difference

Ok but with graphical orders, it’s not so easy.  You aren’t sure who will move first next turn but you have to write orders now.  If you order an attack but the Feds move first and solidify their line, you still have to attack!  The losses could be devastating.  Attacking prepared defenders in good terrain with spent divisions could very easily destroy 2/3 of your Corps!  Is this attack worth the risk?

This should give you a good feel for how to use these in your games.  Try it out and let us know how it goes.  Do you like it?  Did you see some issues with it?  Do you see some ways to make it better?

Best Ukraine War Board Game?

“This is by far the most relevant and realistic board game in existence in my humble opinion.” -Spencer A.

Serious wargamers often overlook Supremacy. It’s just a beer & pretzels game, right? RISK with Nukes.

It works well at that but under the hood is a very sophisticated political, economic and military model of simulation! There is a lot more going on in this game than meets the eye.

What causes conflict and tension on the international stage? How do nations manage or mismanage it? How to wars start? How do you contain them and resolve them? These are some of the key questions that Supremacy raises.

Some games claim to model the war in Ukraine but they are missing one key element: No Nukes. If a nuclear exchange is not possible in the game, then it’s not a good model. That would be like playing Poker with no money. It misses the point.


Here is some other recent feedback we’ve gotten:


Minors and Fortuna are a lot of fun. We just played for the first time yesterday. The minors have a mind of their own. A bit like having a NPC/CPU conducting independent actions. As Russia, I’ve had to work with my adversaries (US) in order to eradicate a pandemic in Angola with an ‘expeditionary force’ and take turns across the globe!

-Spencer A.


Pub Battles -Not So Simple

When I first tried Pub Battles, I played it like any other wargame with ZoC’s and units frozen in place once contacted by the enemy.

Using Alter Rolls to move first became the order of the day. (Successful Alter Rolls allow a player to jump ahead or delay when they move.) When Andrew and I were playing Brandywine, we would frequently roll for every command. We thought moving first was so critical. 

It became a dice-off every turn. We both kind of concluded the system didn’t really work. I went back and reread the rules several times trying to make them fit with my preconceived notions. We were playing it all wrong. After exchanging a few e-mails with the company, I finally “got it.”

That was when I became obsessed with this system. The subtlety of choosing whether to move first or last; and understanding the ramifications is incredibly complex. Which is better? It depends on the situation and what you are trying to do. I was hooked.

I didn’t get the point of adding Baggage Trains at first. Now I love them. It pulls together strategic concerns, C&C, logistics and victory, all in one simple little rule. It’s brilliant.

As simple as the rule seems, it is bewildering to new players. This feels in line with the Pub Battles system. Simple rules, very complex decisions.

It has become my favorite game.


-by Mike Strand

The Importance of  Weather Gage:  Pirate Scenario

This is a fun little exercise to teach and learn the importance of weather gage.  You are windward if you are closer to the wind than your opponent.  In square rigged ships, this gives a tactical advantage called:  Weather Gage. 

If you have weather gage, you can decide IF there will be an engagement at all.  If you don’t want a fight, you can turn about and reach up into the wind.  A leeward ship, (downwind from you) will never be able to catch you.  Assuming they go the same speed:  you are both square rigged ships with no damage.

Both players start with Sloops.  The Merchant has 1 crew and 5 cargo.  The Pirate has 3 crew and 3 guns.  Arrange the ships thus, with the wind to the Merchant’s back:

Merchant in Red

Pirate in Black

As the Pirate, see if you can force a fight and capture / sink the Merchant. 

As the Merchant, see if you can escape and slip past the Pirate.  If you can’t, call off the engagement and just escape safely off your own map edge. 

With practice, a skilled Merchant will ALWAYS win.  The Pirate should never be able to catch them. 

Play this several times on each side.  Got it down?  Good.  Now give the Pirates a Brig.  Can the Merchant still win?  The Brig is faster but the Merchant still has Weather Gage. 


Alright, now give the Pirates a Schooner.  Schooners are actually faster beating up into the wind, while you are slower!!  Who wins most of the time now? 

The Baltimore Privateers (schooner)  were smaller but they were a favorite of Pirates.  Do you see why?

What do we learn from all this?  Here are some general guidelines to follow:

With Weather Gage, against other square rigged ships:

-Use it!  Fight on YOUR terms. 

-If things go wrong, you can break off the fight and escape by beating into the wind.

 With Weather Gage, against Schooners:

-You are in a very dangerous situation.  You can’t escape by beating into the wind!  They’ll catch you. 

-IF you can’t fight them, your only chance is to juke past them with a brilliant move and then make a run for it!  Remember, Schooners go slower while running.  You go faster.  With a little luck and a very tricky maneuver, you might be able to escape downwind.  It won’t be easy.

What if you’re both sailing Schooners?  Well, then you’re on equal terms, right?  Since you’re both going the same speed, standard Weather Gage advantage applies.  You can escape windward.  You can fight when and where you want. 

Increasing the Fog of War

Pub Battles does a great job at Fog of War.  Here are a few variant or house rules we’ve been experimenting with to make this even thicker!

Hidden Status

Why rotate the block face up when spent?  It shows the enemy what you have and their status!  Shouldn’t this be kept secret? 

Instead of rotating Spent blocks up, we flip them upside down.  We also keep them facing their player when they retreat.  This keeps them hidden, as they should be. 

-Instead of centering the stickers, I put these on lined up with the bottom edge.  Just for kicks.  ??  I kind of like it better.  They look more like the Kriegsspiel blocks this way.  It also gives you a better visual cue for which way the block is facing.  They are also easier to put on the block without getting crooked.  You can just line them up flush with the bottom.  I think I’m going to keep stickering my new games this way!

Hidden Blocks

While we’re on the subject, why not keep the whole block secret too?  Why tell the enemy which unit it is?  What its quality is?  Is it just a Detachment or an Elite? 

Let them keep guessing as you fight round to round.   They should at least know the type:  infantry, artillery or cavalry. 

Hidden Dice

Why should the enemy know how many hits you just took in that last shot?  This should be unknown really, right?  We’ve been experimenting with pulling chits from a bag or pool rather than rolling dice.  The player taking the hits should pull and then implement the results in secret.  You can easily make your own chits or maybe even a small deck of cards.

Hidden HQ

The board looks cool with the flags all showing face up. 

The problem with this, is that when you flip your HQ when it Alters, it reveals who that general is! 

Why should the enemy know that?  Better to keep this secret, right?  Instead, place your Fresh HQs with the gold, leader’s name side down, the flag facing towards you. 

Rotate it Flag up when you Alter.  There.  Now you can still keep track of who has already Altered, but the enemy is still left in the dark.  As it should be. 

Yes, some of this will help with Solitaire play too. If none of the blocks are face up, when you spin the board around, all you see is a field of hidden blocks. That makes it easier to forget exactly what they had where and their status.